Tuesday, December 28, 2010

Try to Remember

An amazing family asked me to create this piece as a Christmas gift this year. I found the lyrics and sheet music for the song, Try to Remember, without much trouble at all. Of course, the frame didn't start life black but rather a wood colored frame. It had a salmon colored background for an off-white (or maybe it is just stained from years) doily behind the glass. That will be used for another project...my wheels are spinning! Here is the Try to Remember Family picture:


I just love the simplicity of the rick-rack I found to use as the top of the tags.


As the snow beautifully cascaded down upon us on Christmas Eve, this wonderful family came over and picked up their framed artwork. I was so happy to have helped them on their quest for the perfect, personalized gift. Plus, I got to hang out with the cutest little girls in the world while they "trained" my big dogs. Perfect start to the holiday!


Thursday, December 23, 2010

The Saturday before Christmas my kitchen was taken over by gingerbread (graham cracker) house making elves. It was so fun hosting these two boys so their parents could go do their Christmas shopping. We ate as much as candy as we put on the houses. We used sugarplums, candy canes, twizzler ropes, loads of frosting, M&Ms and tons of sprinkles. Check out how creative he is with the gate that opens in front of the house! We laughed all afternoon. Did I mention that we had so much fun creating these? I have to say this was way better than when I taught 4th grade and we made the houses as examples of all the geometry terms we had learned. We just created, had fun, washed hands as wanted and clean up was way easier! I was tempted several times to point out right angles, cubes and cylinders but just mentioned them in passing.
Sunday I woke up with visions of sugarplums still dancing in my head and I was ready to do my Christmas baking. After creating a list I got started!
Pans of brownies are dressed up by cutting them out with a decorative cookie cutter.
I called these Charcoal Chunks- for anyone who had been naughty this year! I hope that even the nice friends who got cookie plates enjoyed these. They were so delicious!
Christmas Granola Cookies starting whirling away in the mixer. Jovial (the red dog) is always right there to help during baking.
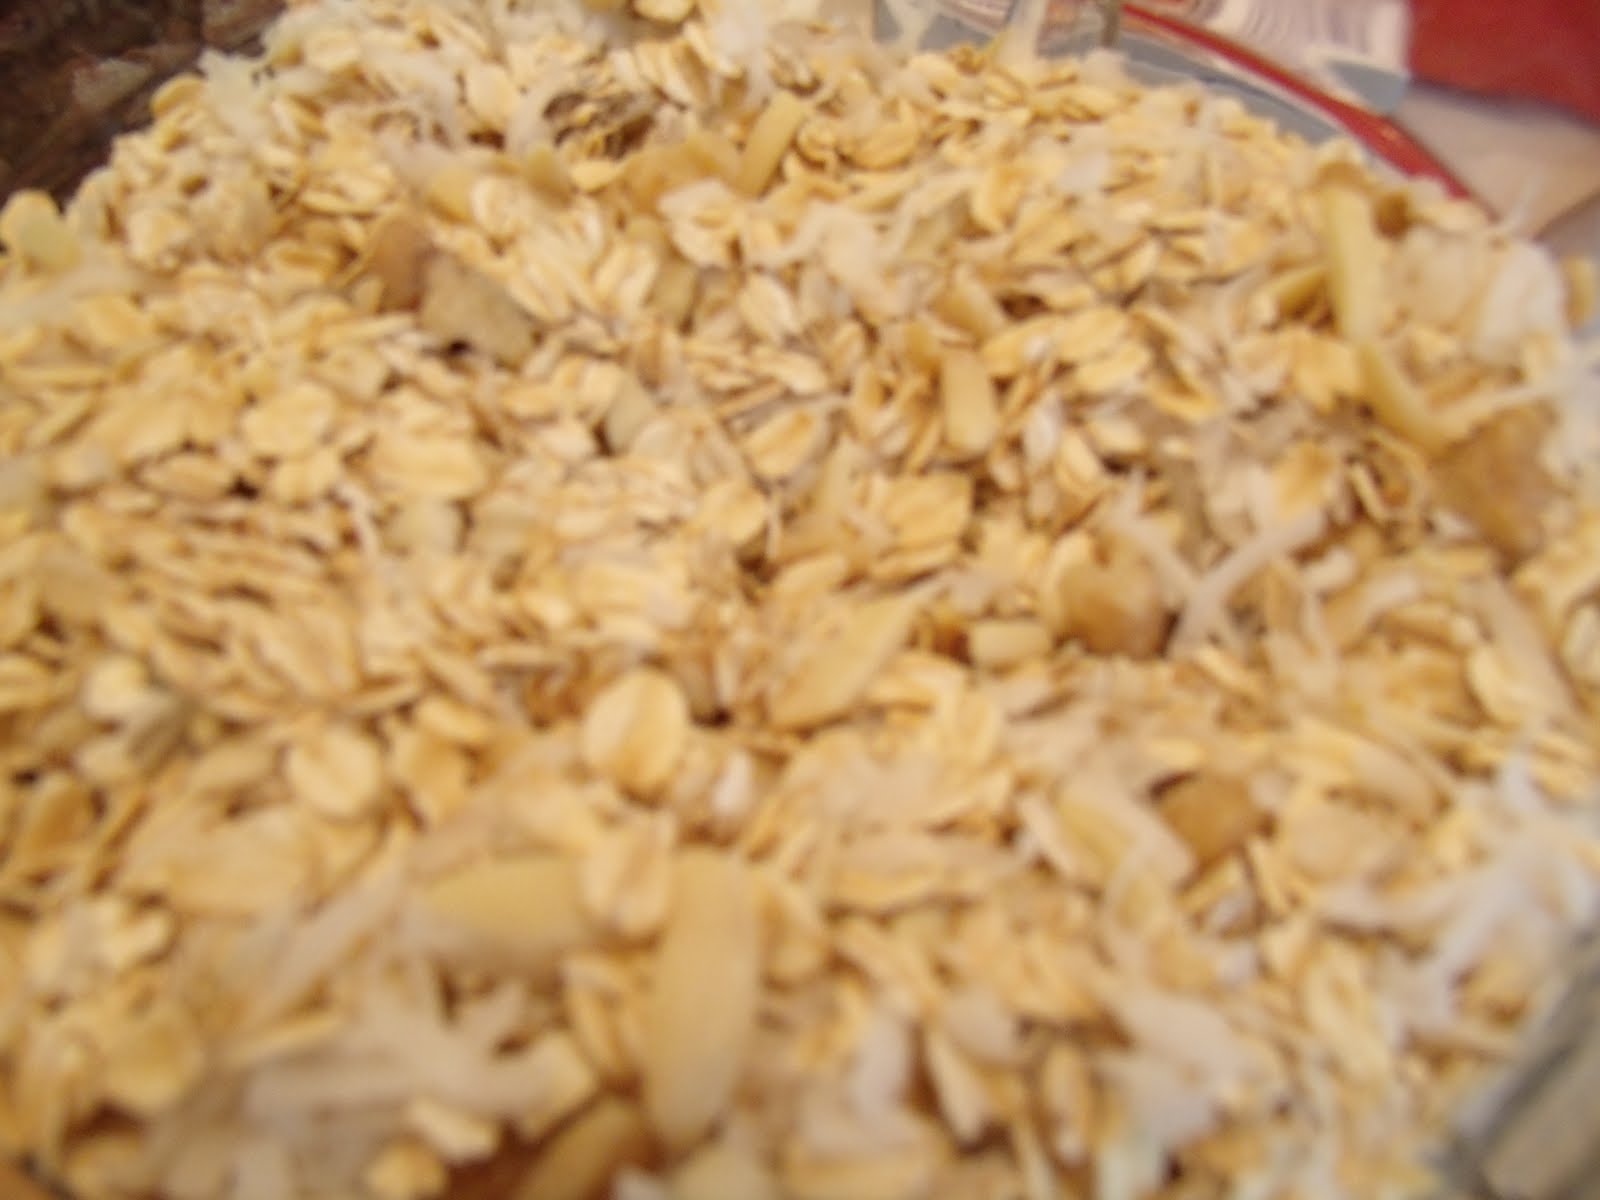
Oats, almonds, walnuts, coconut, chocolate chips: Christmas Granola- cookie form!
It grew a little out of control as I added all the ingredients! This is a new recipe that got rave reviews this holiday season. I can't wait for my dad to try them.

This scoop from Starbucks makes the perfect size cookies. I love finding multiple purposes for kitchen gadgets.
Plates are starting to form. Cookies are overflowing the bowls!
Time for the favorite- peanut butter cookies. Nothing better than that first scoop from a fresh container of Jif!
Peanut butter cookie dough waiting to be crisscrossed...
Crisscrossed!
Racks and racks of goodness cooling. These fly off the racks...before they even cool.
Merry Moose Munch being coated with the caramel and peanut butter sauce in my $1 dutch oven- love a good auction deal!
Drizzled with chocolate and firming up on ourkitchentable! Check out the "blue hour" photo! Outside is a beautiful hue of blue when photographed at this time of evening. I learned about this at the Between Naps on the Porch blog. I loved that I was able to capture one of these magical photos! Also, there is a little bokeh going on (learned about that from PW)!
Sprinkle with M&M's to add holiday color.

ourkitchentablecreations! Plates of cookies and cones full of Merry Moose Munch are almost ready to be shared with family and friends.
To package the Merry Moose Munch I used icing bags and tied them off with a tag. The back of the tag gave me a great place for a message of thanks and happy holiday wishes. The mailman as well as the recess supervisors and Secret Pals at school all got these as a token of my gratitude.
I also glued these on the cones so the friends would know what goodies they were enjoying.
Here are the labels I put on the top of the plates of goodies. I printed these out on cardstock and then used the cricut to cut the circles. A bit of glue attached them to the plastic wrap so they could be refastened to the plate after the snacking.

Six cookies wrapped together made perfect little gifts.
It was a great day of baking and I had a blast delivering to the neighbors and friends and family during the next week. I've really enjoyed snacking on these throughout the holiday as well! Thanks for coming by to snack on some cookies with me. Leave a comment if you enjoyed hanging out ourkitchentablecreations today...and I sure hope you did.

Monday, December 20, 2010

Santa Knows If You've Been Naughty


The big man, the one with the belly that shakes like a bowl full of jello when he laughs, has a white beard and a red nose (and no, I don't mean your grandpa), is making a list. He is checking it twice. Gonna find out who has been naughty and nice. You might be making a similar list as well! Santa might not be using a chalkboard to track the naughty list, but you sure can! I just love this and had it hanging in my kitchen. Several other people liked it so I mass produced these this holiday season.


I took the covers off of some books I had around my house. The first one pictured (in the red) was from an encyclopedia. Letter S. How fitting. Santa, snow, sugarplums! The middle one (in the blue) was from a book that contained beautiful pictures of nature. Mom and I found it at the Goodwill- the good one in Belton! The final book cover (small and green) was from a Prentice Hall basal textbook for literature. I'm not a big fan of basal textbooks and would rather see kids have real novels in their hands as early as possible. A friend of mine, who shares this view, received this 'naughty sign' and we laughed about the symbolism! Okay, back to the book covers. After you remove the book cover from the book, I used an exacto knife and unity knife, drill holes at the top so you'll have a way to hang your board when it is finished. Paint one side with chalkboard paint (three coats work best for this, allow them to dry between coats).


Once the paint was dry, I added a border of red paper at the bottom that had the words to the song Santa Claus is Coming to Town. The coal was hot glued on...trial and error! I had used regular tacky glue on the one in my kitchen and the dogs thought it was a treat hanging there and it promptly disappeared. If I had to guess, I would guess it was the dog that would NOT sit still for her picture and doesn't appear with the naughty sign around her neck- though that is the one who deserves coal!


I cut the naughty letters with my Cricut but you could use stickers or stencils or stamps. To give the project a bit more dimension, I used the foam stickies (generic brand that were on sale in the middle of the tools at Menards, don't ask!) to lift the letters off the board.


When you attach the chalk, use a white string. I used a red one at the beginning but didn't like how "dirty" it got from the chalk. The white looks cleaner. If that makes sense.

I sure hope your name would go on the Nice List and not the Naughty List. However, with this crafty idea, you can easily put names on the list and take them off with no problem.

Saturday, December 18, 2010

Special Delivery

Today I delivered an order to a friend's door. If you live in the Bloomington/Normal area I can deliver until Christmas Eve. Friends in Belton, I can deliver by the New Year! What a fun experience this has been! Maybe this delivery of presents and cards will be the next part in the adventure. Who knows?!


I have made so many of these naughty signs this year. The little piece of coal and fact that this a chalkboard (you can add names and erase them) are perfect for those who make Santa's naughty list! Each are just slightly different and I can't make any two exactly the same. Check out the metamorphosis of a book cover (coming as Sunday's post)!

Graduation Card with a Christmas Faith and Angel


This week I had a friend request a graduation card. I had so much fun finding the perfect sentiment. I love the cap on this card and will make more of them! I used book paper that I had shredded and put them together to create the tassel. The rope wrapped around the tassel and the button help the "cap" image come to life.

The cap paper was a shimmery black but almost looks silver in this photo. I love the shine to this paper. It was just a random paper I found and have so enjoyed using it.


This Faith picture was commissioned by a new friend I met at the Central Catholic craft show. I enjoyed collaborating with her to find the perfect songs for the background and words she wanted me to incorporate. Every day that I worked on this piece, I said a little prayer for her and the church family she loves and will share this with as a "thank you" and Merry Christmas present. I know they will love it as much as she did when she picked it up.


The Angel has the story of the Christmas Angel in the background and a border of my favorite lace. This lace was in a box in my classroom for the past ten years. Since it was at the bottom, the students had never worked their way down to it. I have used it in so many pieces this season. The stamped "Believe in the Magic of Christmas" is also framed by the lace. Of course, it needed a bit of bling so the words got some gold jewels.


Tuesday, December 14, 2010

Joy! Joy! Joy! Joy!

Yep. Four Joys! As of right now there are four followers to our little creations. You each have brought shrieks of excitement and squeals of happiness. Thanks for coming along. Love that there are others out there enjoying this craziness. As I am creating this digital creation, which is not my usual medium, my brain is getting twisted in all sorts of new ways. Usually I am tearing paper, cutting, glittering and scampering around my craftroom as I look at the creation from all different angles. This sitting with a computer on my lap is a new concept...and you have to drink a lot of hot chocolate and nibble on 'elf' food while loading pictures. Please hang with me as I play with backgrounds and fonts and colors. Let me know what you think of experiments I try out.
Enjoy a cup a coffee from Bloomington's Coffeehound with me as you explore our kitchen table creations. Thanks for reading!

Monday, December 13, 2010

Christmas Tags

This Santa candle holder is reminding you he is making his list...hope you are on the NICE list this year. This tag was made from Martha Stewart Christmas paper (from last season) and the cricut helped make the letters from the peppermint paper. When Santa comes down our chimney (or rather the magical one because ours is broken...that took some explaining this weekend to Rowan) he will enjoy getting his Christmas card from us. The sugarplums will dance when you show up to your hostess' home with this cute tag around a bottle of bubbly! (Okay. I'll come clean. I'm not the best speller in the world. I leave that to the spelling bee champ and follower of my blog- S.L.J! So I spelled "sugar plumes" on this card. It is a chance to embellish with a button and some other randomness that will look awesome!)


Glitter and perals. Nothing else really needs to be said!


The picture here is from The Graphics Fairy. I Love Karen! She's awesome. Check out Karen at The Graphics Fairy for other amazing winter graphics (the vintage Santa's are too cute). I just love the little birds and the home makes me think of It's A Wonderful Life with that fence in front.
Karen hosts Brag Monday- you have to see all the creative things others are doing! Go. Now! You'll be glad you did!


I have also joined the Holiday Hookup over at Krafty Kat! Thanks for hosting a great collection of holiday inspiration.


Sunday, November 28, 2010

Central Catholic Show


We had a great time at the Central Catholic show on November 27. Saturday we had our booth next to a P90X Lady so we came home doing butt flexes and "jumping for joy" which was good after all our Thanksgiving feasts. We were surrounded by interesting people and the day was very enjoyable.
This was towards the front of our booth. Our Christmas time creations were a very popular section all day long!


Here is the box of rosettes that we created. Dani looked great in her pearly-flower two booths down from us.


The Amelia Earhart suitcase held our Christmas tags and cards. These were an extremely popular item as we entered the holiday shopping season.


Name banners and word banners spread spirit. Contact me and I'll make any name, word, or team you want! The family pictures on the bottom rack can be created from any song or book that you want. Other words that look great on these are last names, faith, love, and teach.
If you are working on your Christmas list and didn't get a chance to buy that special gift during the show Saturday, contact me via email or leave a comment here. Also, our kitchen table creations "creations" section has items that I currently have and would be happy to sale to you.
Happy Shopping!


Monday, November 22, 2010

Eat Cake Wreath


I'm so excited about this adorable wreath. It was created with a cookbook from the 1970's that had all sorts of cakes, pies, cookies, and sweet goodies that make an elf very excited.
Thanks to mom for the cute ribbon with the spoons and forks on it. I've rationed it out! The wooden spoon had served a great life in my kitchen and I love the new life it will have.